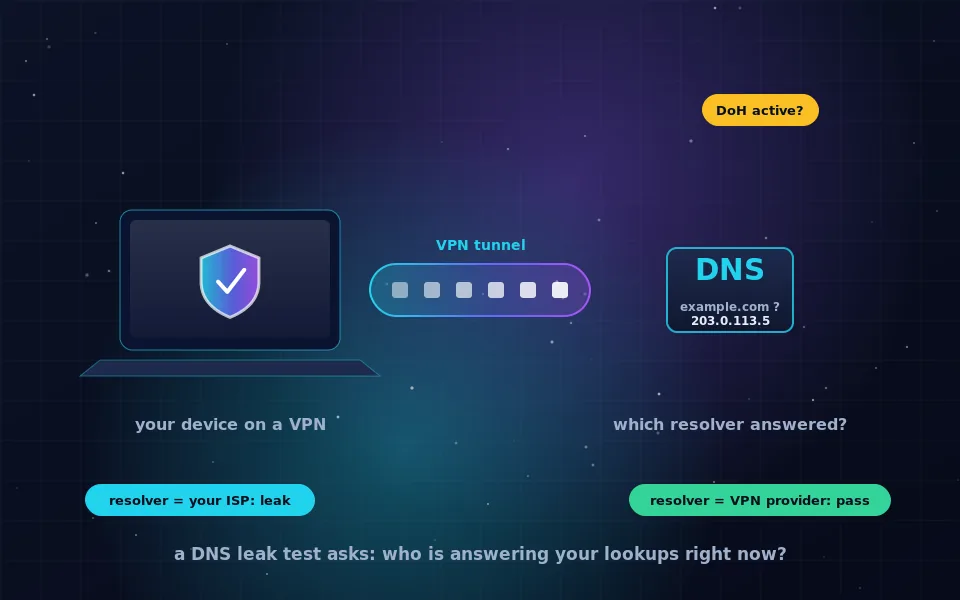
A DNS leak test tells you which servers are answering your domain lookups. Connect your VPN, load a test page, and if the resolvers listed belong to your VPN provider you are fine; if your internet provider appears, your browsing history is leaking around the tunnel even though the tunnel is up.
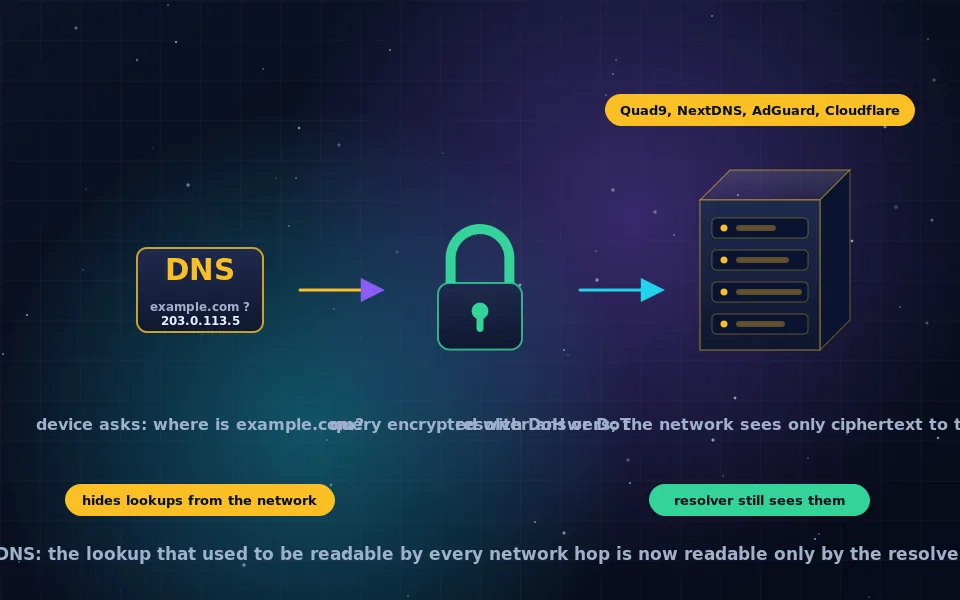
DNS is the step before every connection. When you type a domain, your device asks a resolver for its address, and that request reveals the site you are about to visit. A VPN is supposed to carry those requests inside the tunnel to the provider's own resolver. Operating systems, browsers and badly configured apps regularly break that promise, which is why the test exists. This guide explains how to run the test properly, how to read each outcome, how to test DNS over HTTPS when you use it without a VPN, and what to change when a leak shows up.
What a DNS leak test actually measures
The test page generates a few unique subdomains that only its own servers can resolve, then asks your browser to load them. To load them, your device must look up each name, and the lookup arrives at the test's authoritative server from whichever resolver you are really using. The page then shows you the addresses and owners of those resolvers.
That is the whole trick, and it has a useful consequence: the test cannot be fooled by what your settings claim. It reports the resolvers that actually asked, not the ones configured in a dialog box. If the operating system quietly fell back to the ISP resolver, or a browser is using its own DNS over HTTPS setting that bypasses the VPN, the test shows it.
A related check is the plain IP test, which shows the public address your web requests come from. The two together answer the two questions that matter: where does my traffic appear to come from, and who sees the names I look up.
Run the test correctly
Testing is quick, but a careless test gives a false sense of security. Follow this order.
- Note your resolvers with the VPN off. Run the test once before connecting so you know what your ISP's resolvers look like.
- Connect the VPN and wait until the app shows it is fully connected.
- Open a fresh private browsing window, so cached results from before the connection do not confuse the result.
- Run the extended or full test, which sends many lookups and catches resolvers that only appear occasionally.
- Compare the resolver owners and countries with your VPN server location. They should match the provider or the location, not your ISP or your home town.
- Repeat after switching networks, for example from Wi-Fi to mobile data, because leaks often appear only after a reconnection.
- Run the IPv6 and WebRTC checks on the same page, or on a dedicated one, if your test does not include them.
If any step shows your ISP or your true location, you have a leak. The remaining sections explain the causes and fixes.
Reading the result: four outcomes
Results fall into a small number of patterns.
- Only the VPN provider's resolvers appear. The tunnel carries DNS as intended. This is a pass.
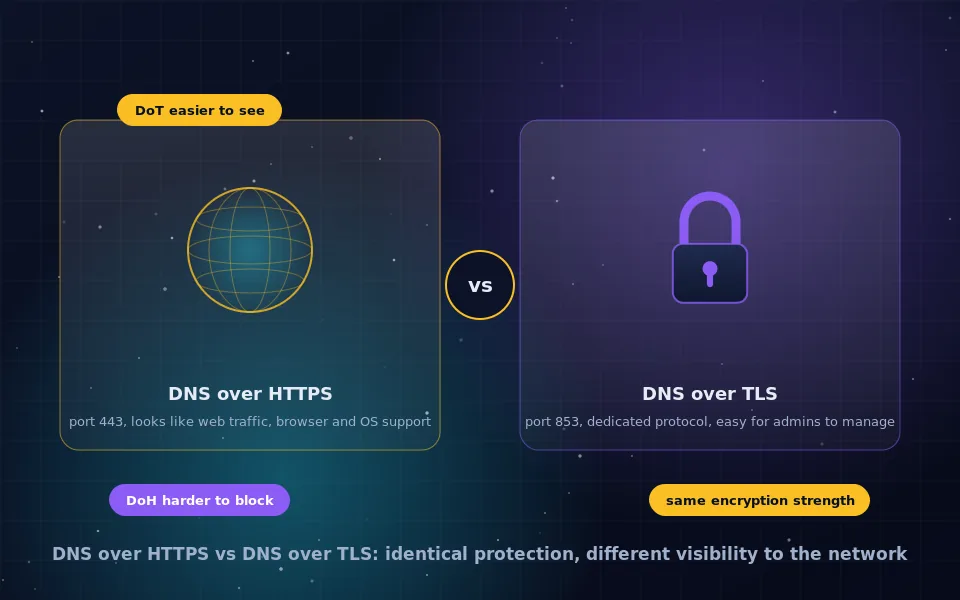
- Only a public encrypted resolver you chose appears. Also a pass, as long as you chose it deliberately. The lookups are encrypted and not visible to the ISP, though the resolver operator sees them instead of the VPN provider.
- Your ISP's resolvers appear, alone or alongside the VPN's. A leak. The operating system is sending some or all lookups outside the tunnel.
- Resolvers in your real country appear while the VPN is elsewhere. Also a leak, usually caused by a browser or app with its own DNS setting that ignores the VPN.
A mixed result is still a failure. Even a small share of lookups going to the ISP is enough to reconstruct which sites you visit.
Why VPNs leak DNS
Leaks are almost always caused by one of a few mechanisms, and knowing which one you have determines the fix.
Operating systems sometimes send the same query to every configured resolver at once and take the fastest answer, a behaviour Windows in particular has been criticised for. Browsers with their own DNS over HTTPS setting can bypass the VPN entirely, because the browser talks to its chosen resolver directly. IPv6 is a frequent cause: if the VPN only tunnels IPv4 and your network offers IPv6, the system may send IPv6 lookups and traffic directly. Finally, the brief moments while a VPN reconnects after a network change can let lookups escape unless the app has a kill switch that blocks everything until the tunnel is back.
Fixing a leak on each platform
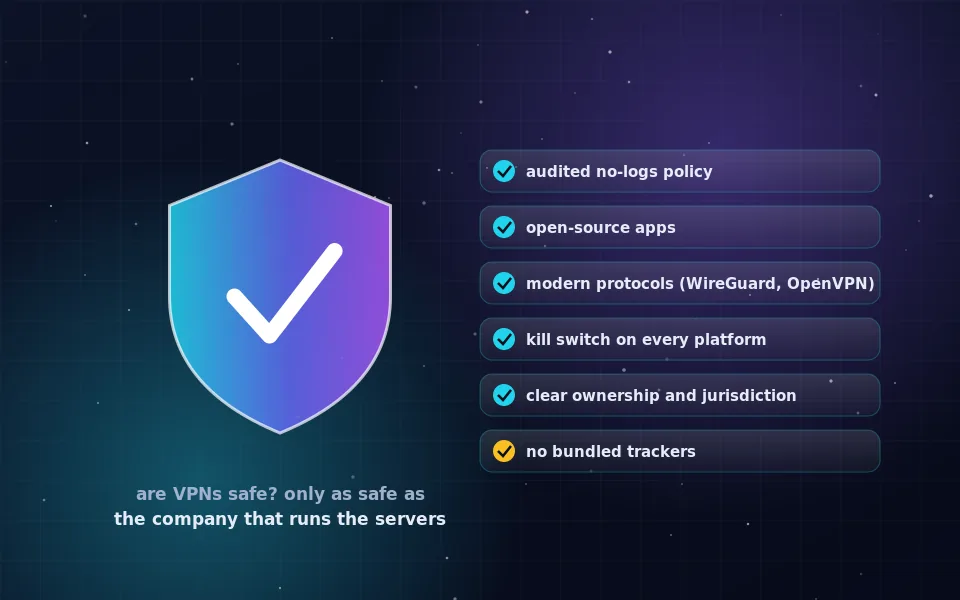
Start in the VPN app. Reputable apps have a setting to force all DNS through the tunnel and a kill switch; turn both on. Then check the layers around the app.
- Windows. Disable IPv6 on the adapter if your provider does not support it, and check that the VPN app is allowed to set itself as the only resolver. Windows 11 also has a system-level DNS over HTTPS setting per adapter; make sure it does not point at a resolver outside the tunnel unless you intend it to.
- macOS and iOS. Apple devices generally respect the VPN's DNS. Leaks here are usually a browser or a DNS profile. Remove any encrypted DNS configuration profile you installed separately while testing.
- Android. Check Private DNS in network settings. If it is set to a specific hostname, Android sends lookups there directly, which may bypass the VPN's resolver. Set it to Automatic or Off while using the VPN, unless you want that resolver deliberately.
- Linux. Confirm that the resolver configuration was updated when the tunnel came up. With WireGuard, the
DNSline in the config handles it; with OpenVPN you may need a script to update the resolver. - Browsers. Firefox and Chrome have their own DNS over HTTPS settings. Set them to use the system resolver while on a VPN, or to a resolver you have chosen on purpose.
After each change, run the test again. Fixing DNS is iterative, and the page is the only reliable judge.
Testing DNS over HTTPS without a VPN
Many people use encrypted DNS on its own rather than a VPN, and want to know it is working. The method is the same: load a page that reports how your query arrived. Several public resolver operators run one, and it will state whether the connection used DNS over HTTPS, DNS over TLS or plain unencrypted DNS, and which of their servers answered.
Two details trip people up. First, browser DoH and system DoH are separate. If you enabled DoH in Firefox, only Firefox is protected; the test page loaded in another browser or the apps on your phone still use whatever the system does. Second, some networks block encrypted DNS and your device may fall back silently to plain DNS. The iPhone warning that a network is blocking encrypted DNS traffic is one visible sign of this; on other systems the test page is your only indicator. Testing on each new network is the habit that catches it.
Online anonymity tests: useful, but read them carefully
Sites that call themselves anonymity tests bundle an IP check, a DNS leak test, WebRTC, IPv6 and browser fingerprinting into a single page. They are worth running because they catch leaks in one visit. They can also mislead, in both directions.
A red warning on such a page often just means the site noticed you are using a VPN, which is not a leak. A green result means the page found nothing wrong with the checks it knows how to make, which is different from being anonymous. Fingerprinting, logged-in accounts and behaviour all identify you regardless of DNS. Treat these pages as a leak checker, and read the anonymity guides on this site for the rest.
What testers and privacy engineers have observed
People who audit VPN apps for a living have documented the same failure modes for years, and their findings explain why the test is worth repeating rather than running once.
Independent reviewers who test many VPN apps report that DNS and IPv6 leaks are far more common than broken encryption, and that leaks frequently appear only during reconnection or on a specific operating system version. That is why the checklist above includes switching networks and testing again.
Browser vendors' own documentation on DNS over HTTPS acknowledges that browser-level DoH can conflict with VPNs and enterprise resolvers, and both major browsers include logic to step aside when they detect a VPN or a managed network. That logic is not perfect, which is why the test sometimes shows a browser resolver alongside the VPN's.
Privacy engineers commonly note that the operating system's "smart" multi-resolver behaviour, intended to make lookups faster, is the single biggest structural cause of leaks on desktops. Their standard advice is a VPN app that enforces its resolver and a kill switch, verified by a test, rather than trust in any default.
Test today, then test again
Run the leak test right now with your VPN connected and write down the result. Fix anything that points at your ISP using the platform steps above, then make the test a habit whenever you install a new browser, update your operating system or join an unfamiliar network. Five seconds on a test page is the cheapest privacy check there is.
Frequently asked questions
What is a DNS leak, in one sentence?
A DNS leak is when your device sends domain lookups to a resolver outside the VPN tunnel, usually your internet provider's, so the provider still sees every site you visit even though the page content is encrypted.
How do I run a DNS leak test for my VPN?
Connect the VPN, open a DNS leak test page, run the extended test, and read the list of resolvers that answered. If they belong to your VPN provider or to the encrypted resolver you chose, you pass. If your ISP or your home country appears while the VPN is set to another location, you are leaking.
How can I test DNS over HTTPS?
Most encrypted resolvers publish a test page that reports whether your query arrived over DoH, DoT or plain UDP. Visit it with the browser you configured; if it says encrypted, DoH is working for that browser. Test the system separately if you enabled DoH at the operating system level.
Does a DNS leak test check IPv6 and WebRTC too?
Some combined test pages do, and you should check all three. A VPN that only tunnels IPv4 can leak your real IPv6 address, and WebRTC in a browser can reveal local addresses to a page. Look for a test that reports IP, DNS and WebRTC together.
Is there such a thing as an online anonymity test?
Pages that call themselves anonymity tests combine an IP check, a DNS leak test, WebRTC and browser fingerprinting into one report. They are useful for spotting leaks, but a clean result does not mean you are anonymous; it means those specific checks did not find anything.
Last reviewed and updated on . Plain text version: /vpn/dns-leak-test.txt.