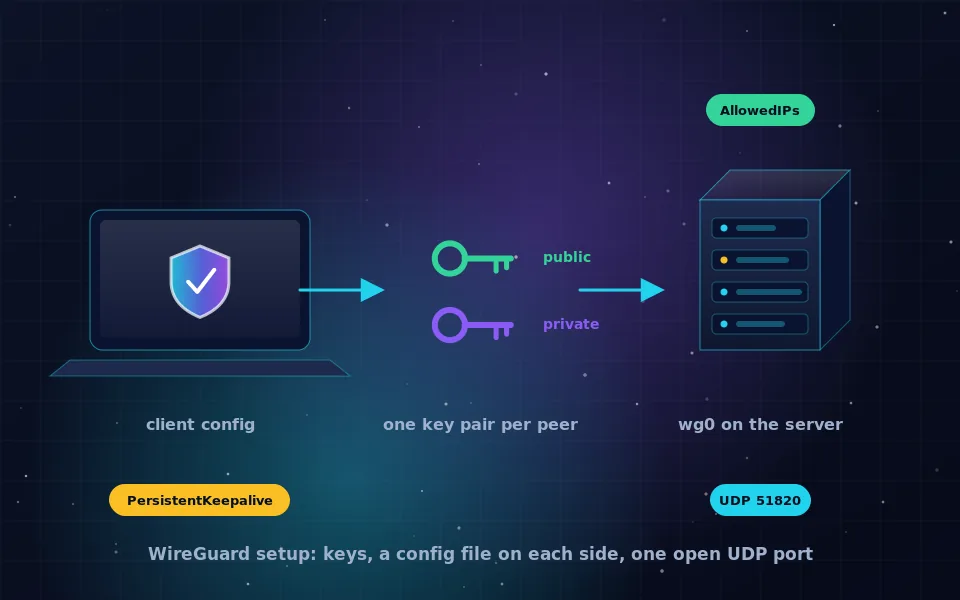
WireGuard setup means generating a key pair for the server and for each client, writing a short config file on both sides, opening one UDP port, and enabling forwarding so the server can pass traffic to the internet. If you can copy and paste six commands and edit a text file, you can have a working tunnel today.
This guide is written for someone running WireGuard for the first time on a small Linux server, a VPS, or a spare machine at home. It uses the reference tools that ship with every major distribution, so nothing here depends on a particular provider. Where a step differs on a phone or a router, the differences are called out. By the end you will understand what every line in the config does, which is the part that makes the next setup fast.
What you need before you start
WireGuard is lightweight, but the surroundings still matter. Before typing anything, make sure you have the following in place.
- A Linux server that you control with root or sudo access. Any recent Debian, Ubuntu, Fedora or Alpine release includes WireGuard in the kernel.
- A public IPv4 address or a hostname that resolves to the server. For a home machine, a dynamic DNS name pointing at your router is enough.
- The ability to open UDP port 51820 in the server firewall and, if the server sits behind a router, to forward that port to it.
- A client device: a laptop running Linux, macOS or Windows, or a phone running Android or iOS. The official WireGuard app exists for all of them.
- A text editor you are comfortable with, and a way to move short text strings between machines, such as SSH or a QR code.
If any of those are missing, sort them first. Most failed WireGuard setups are firewall and port-forwarding problems, not WireGuard problems.
Install WireGuard on the server
On Debian and Ubuntu, one command installs the tools:
sudo apt update
sudo apt install wireguard
Fedora uses sudo dnf install wireguard-tools, and Alpine uses apk add wireguard-tools. After installation you have two commands that matter: wg, which shows and configures interfaces, and wg-quick, which reads a config file and brings a tunnel up or down.
Next, enable IP forwarding so that packets arriving through the tunnel can be sent on to the internet. Edit /etc/sysctl.conf or a file in /etc/sysctl.d/ and add:
net.ipv4.ip_forward=1
Apply it with sudo sysctl -p. Skipping this step is the most common reason a client connects successfully and then has no internet access. The handshake works because WireGuard itself is fine; it is the kernel that refuses to forward.
Generate the server key pair
Every WireGuard peer has a private key it never shares and a public key it gives to everyone it talks to. Generate the server pair in a directory only root can read:
cd /etc/wireguard
umask 077
wg genkey | tee server.key | wg pubkey > server.pub
The umask 077 line ensures the files are created readable by root only. Print server.pub and keep it handy; you will paste it into every client config. Never paste server.key anywhere except the server's own config file.
Do the same for your first client, either on the client itself or on the server and then move the private key to the client. Generating on the client is cleaner because the private key never travels, but for a phone it is often more practical to generate on the server and hand the whole config over as a QR code.
Write the server config
Create /etc/wireguard/wg0.conf with the following, replacing the placeholder values:
[Interface]
Address = 10.8.0.1/24
ListenPort = 51820
PrivateKey = <contents of server.key>
PostUp = iptables -t nat -A POSTROUTING -o eth0 -j MASQUERADE
PostDown = iptables -t nat -D POSTROUTING -o eth0 -j MASQUERADE

[Peer]
# first laptop
PublicKey = <client public key>
AllowedIPs = 10.8.0.2/32
Line by line: Address is the server's own address inside the tunnel. ListenPort is the UDP port you opened. The PostUp and PostDown rules turn on NAT so client traffic leaves the server with the server's public address, and eth0 must match your real network interface name, which you can check with ip route. Each [Peer] block is one client, and AllowedIPs on the server side means "this peer is allowed to send traffic from this address".
Bring the interface up and enable it at boot:
sudo wg-quick up wg0
sudo systemctl enable wg-quick@wg0
Run sudo wg and you should see the interface listening with your peer listed but no handshake yet.
Write the client config and connect
On the client, the config mirrors the server:
[Interface]
Address = 10.8.0.2/32
PrivateKey = <client private key>
DNS = 10.8.0.1

[Peer]
PublicKey = <contents of server.pub>
Endpoint = your.server.example:51820
AllowedIPs = 0.0.0.0/0, ::/0
PersistentKeepalive = 25
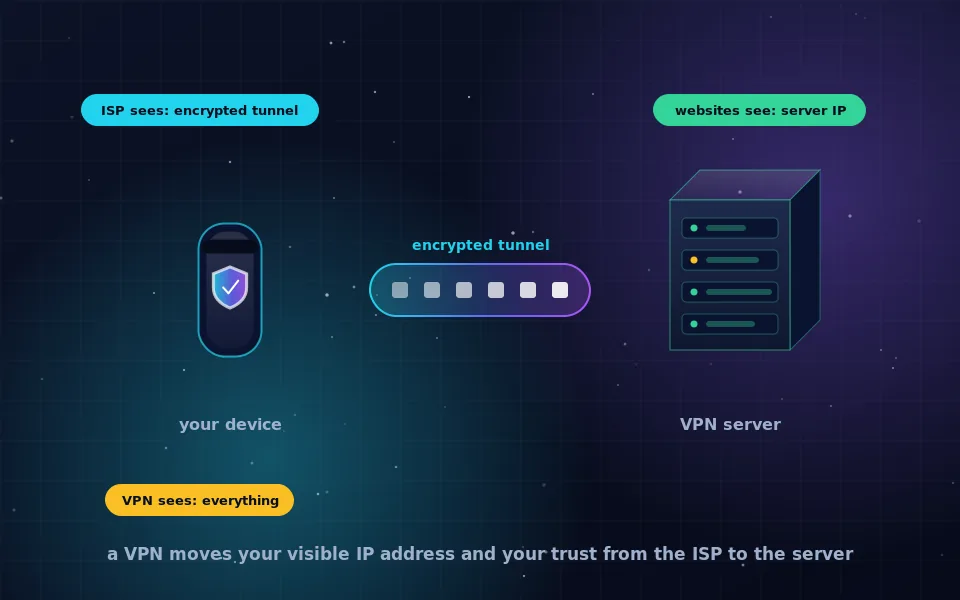
AllowedIPs = 0.0.0.0/0, ::/0 on the client means "send everything through the tunnel", which is what most people want from a VPN. If you only want to reach the server's private network, list those ranges instead. DNS points lookups at the server so your ISP does not see them; if the server does not run a resolver, use a public encrypted resolver instead. PersistentKeepalive keeps the connection alive through home NAT devices that drop idle UDP flows.
On a laptop, save the file and run wg-quick up client.conf, or import it into the official desktop app. On a phone, install the WireGuard app and either paste the config or scan a QR code generated on the server with qrencode -t ansiutf8 < client.conf. Once connected, visit any "what is my IP" page and you should see the server's address, then run the DNS leak test described elsewhere on this site.
A checklist for adding every new device
WireGuard has no user accounts. Each device is a peer with its own keys, and adding one is the same six steps every time.
- Generate a key pair for the new device, preferably on the device itself.
- Pick the next unused tunnel address, for example
10.8.0.3/32. - Add a
[Peer]block with the device's public key and that address towg0.confon the server. - Reload the server without dropping existing peers using
sudo wg syncconf wg0 <(wg-quick strip wg0). - Write the device config with its private key, the server public key, the endpoint and
AllowedIPs. - Connect, confirm a handshake appears in
sudo wg, and check your public IP from the device.
Keep a small text file mapping tunnel addresses to devices. When a phone is lost, delete its [Peer] block and reload; the keys become useless immediately.
What experienced operators say about WireGuard
Three observations come up repeatedly from people who run WireGuard in production, and they are worth hearing before you rely on it.
The WireGuard project documentation stresses that the protocol is deliberately opinionated: there is no cipher negotiation and no configuration of algorithms, so a config that connects is a config that uses modern cryptography. Network engineers who have migrated from OpenVPN often note that the lack of options is the point, because most VPN security failures in the field were misconfigurations rather than broken ciphers.
Security researchers who have reviewed the protocol point out that WireGuard is stateless in a way that trades a little privacy for simplicity: the server keeps the last endpoint address of each peer in memory while it is running. That is not a log on disk, but if you want the server to forget clients when it restarts, that behaviour already fits.
Home lab writers tend to give the same practical advice: put WireGuard on a non-default port if you want less scanner noise, but do not mistake that for security, and use PersistentKeepalive only on clients behind NAT because it stops phones from sleeping properly otherwise.
Troubleshooting the three usual failures
When a WireGuard setup fails, it fails in one of three ways, and sudo wg on the server tells you which.
- No handshake at all. Packets are not reaching the server. Check that UDP 51820 is open in the server firewall and forwarded on the router, that
Endpointon the client has the right host and port, and that the public keys are pasted correctly. A single wrong character in a key produces exactly this symptom. - Handshake present, no traffic. The tunnel is up but forwarding is broken. Confirm
net.ipv4.ip_forward=1is active withsysctl net.ipv4.ip_forward, and that thePostUprule names the correct outbound interface. - Traffic works but DNS fails or leaks. The
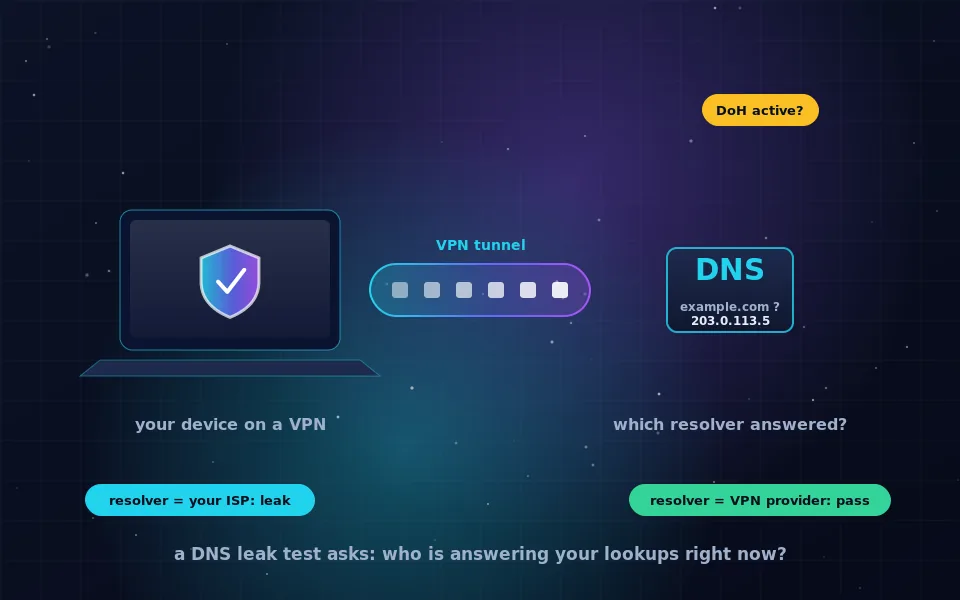
DNSline in the client config points at something unreachable through the tunnel, or the operating system is ignoring it. SetDNSto a resolver the server can reach, then verify with a leak test.
Once you have fixed the first setup, keep the working configs somewhere safe. The next server takes five minutes because the only things that change are the keys and the endpoint.
Your next step
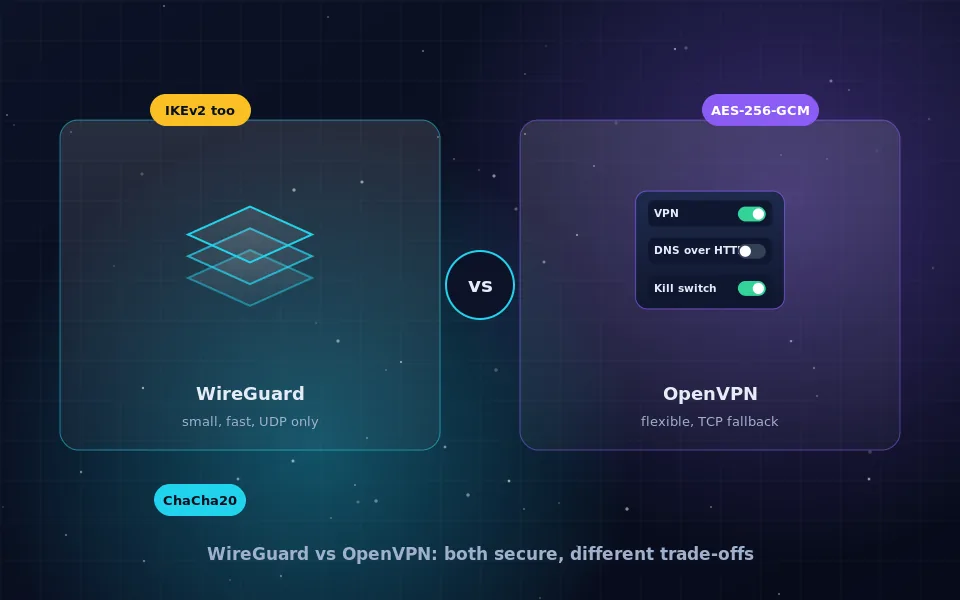
Bring up the server, connect one laptop, and run a leak test before adding anything else. When that single tunnel behaves, add your phone using the checklist above, and then read the comparison of WireGuard and OpenVPN to decide whether you also need a TCP fallback for hostile networks.
Frequently asked questions
How long does a WireGuard server setup take?
On a fresh Linux server with a public IP address, the whole process takes about twenty minutes the first time and five minutes once you have done it. Most of that time is copying keys between the server and the client without making a typo.
Do I need a static IP address for a WireGuard server?
The client needs a stable way to reach the server, so a static IP or a dynamic DNS hostname is required. If the server is at home behind a router, you also need to forward the UDP port to the machine running WireGuard.
Can I use WireGuard setup on a home router instead of a server?
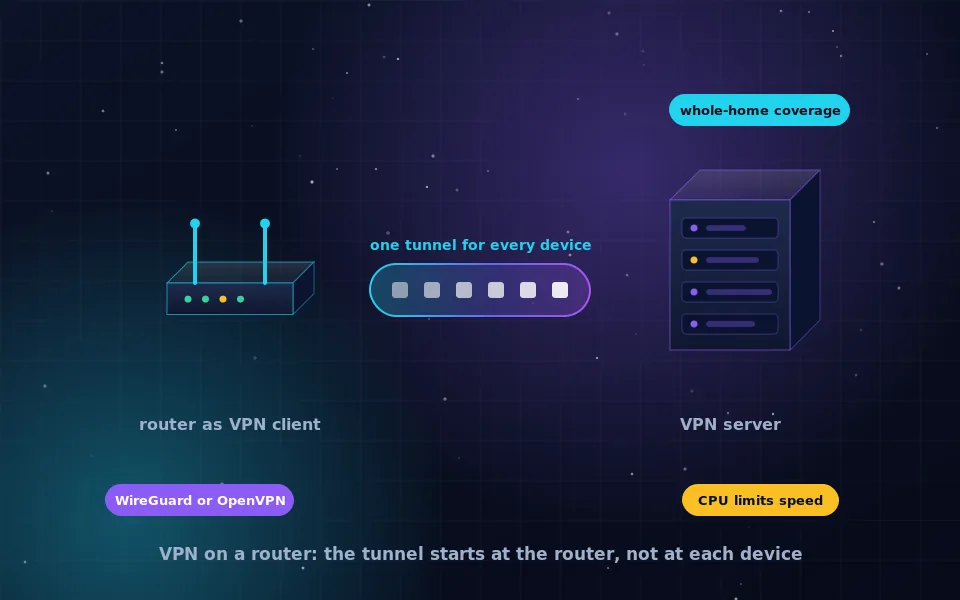
Yes, many router firmwares include a WireGuard server and client. The concepts are identical: the router holds one key pair, each device holds another, and AllowedIPs decides what traffic goes through the tunnel. The router guide on this site covers where those settings live.
Is WireGuard safer than OpenVPN?
Both are considered secure when configured correctly. WireGuard has a much smaller codebase and no negotiable cipher options, which removes a whole class of configuration mistakes. OpenVPN is more flexible and works over TCP, which matters on networks that block UDP.
Why does my WireGuard client show a handshake but no internet?
That combination almost always means forwarding or NAT is not enabled on the server. The tunnel is up, but packets arriving from the client are not being forwarded to the internet and back. Check the sysctl setting and the PostUp rules described in the troubleshooting section.
Last reviewed and updated on . Plain text version: /vpn/wireguard-setup.txt.