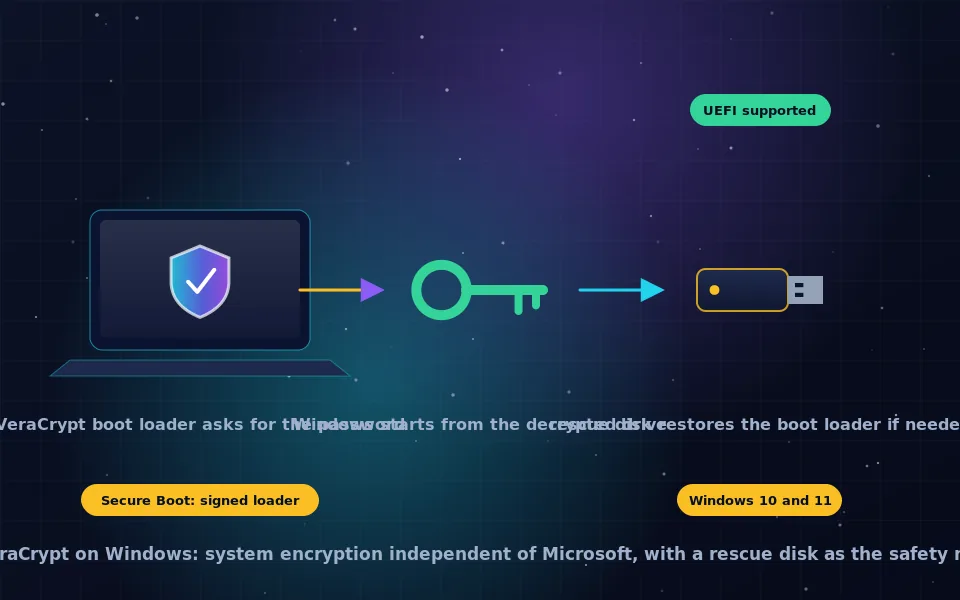
To use VeraCrypt on Windows 11 or 10, download the installer from veracrypt.fr, verify it, and run it, choosing Install for full functionality or Extract for a portable copy that mounts containers without installation. VeraCrypt's system encryption encrypts the drive Windows runs from and adds a boot loader that demands your password before Windows starts; it works on UEFI systems, does not depend on the TPM, and requires creating a rescue disk on a USB stick before encryption begins. Compared with BitLocker, it offers open-source vendor independence and hidden operating systems at the cost of typing a password at every boot.
VeraCrypt on Windows spans two very different uses: mounting containers, which is low risk, and encrypting the system drive, which touches the boot process and deserves care. This guide covers downloading and verifying, installed versus portable, the system encryption procedure step by step, what the rescue disk is for, UEFI and Secure Boot considerations, and how to decide between VeraCrypt and BitLocker.
Download and verify
Get VeraCrypt only from veracrypt.fr or the official mirrors it links, as the what-is-VeraCrypt guide on this site stresses. The Windows download is a signed installer. Verify it before running: right-click the file, open Properties, Digital Signatures, and confirm the signer is IDRIX; or check the PGP signature with GnuPG using the key published on the site, as the GPG guide on this site explains; or compare the published SHA-256 hash with certutil -hashfile VeraCrypt_Setup.exe SHA256 in a terminal. Impersonated VeraCrypt downloads exist, and this step is the defence.
Install or extract
Running the installer offers two modes.
Install places VeraCrypt in Program Files, registers its driver, adds Start menu entries and optionally associates the .hc extension. This is required for system encryption and is the normal choice for your own PC.
Extract, which produces VeraCrypt Portable, unpacks the program files to a folder of your choice, typically a USB stick, without registering anything. Run VeraCrypt.exe from the folder to mount and create containers on any Windows PC where you have administrator rights, because the driver must be loaded on each use. Portable mode cannot encrypt the system drive and leaves nothing installed behind, which suits carrying a container to other machines. The VeraCrypt USB guide on this site describes that workflow.
Both modes need administrator rights to install or to load the driver. Windows 11 may show a SmartScreen prompt for the installer; a correctly verified download is safe to proceed with.
VeraCrypt system encryption: before you begin
System encryption is the feature that distinguishes VeraCrypt on Windows. It encrypts the partition Windows runs from, or the entire drive including other partitions, and installs the VeraCrypt boot loader, which asks for your password before Windows loads. Everything on the disk, including hibernation and swap, is protected.
Preparation matters more here than anywhere else in VeraCrypt.
- Back up everything. System encryption modifies the boot process. Problems are rare and recoverable with the rescue disk, but a full backup is the only complete safety net.
- Check for existing encryption. If BitLocker or Device Encryption is on, decrypt first; the two cannot coexist on the same drive. The BitLocker guide on this site shows how to check.
- Have a USB stick for the rescue disk.
- Know your firmware. Most Windows 11 PCs use UEFI with GPT disks, which VeraCrypt supports. Legacy BIOS with MBR is also supported. Dual-boot setups add complexity and the VeraCrypt documentation covers them.
- Choose a strong passphrase, since there is no TPM to throttle guessing; the passphrase is the whole defence.
VeraCrypt system encryption: the procedure
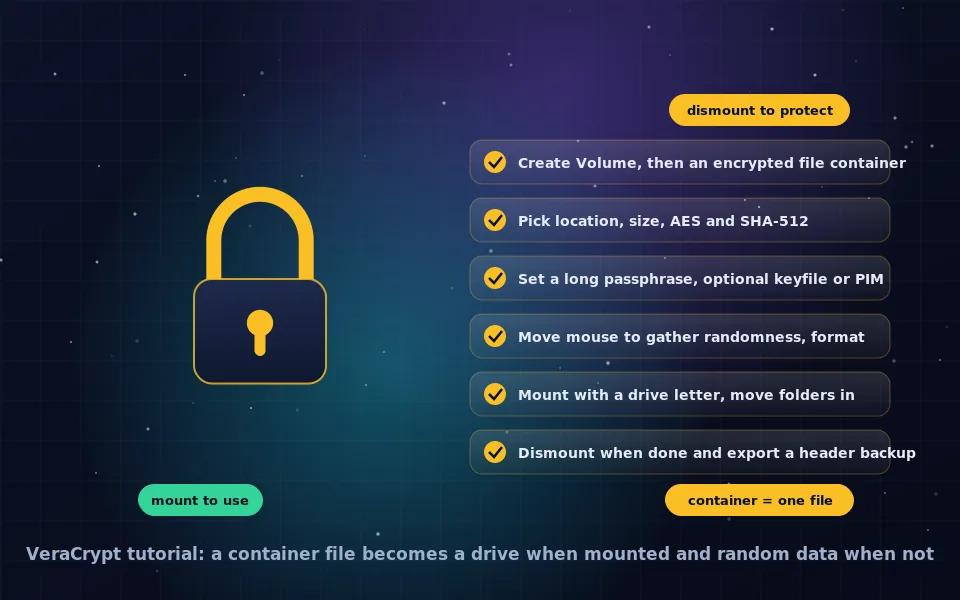
- Open VeraCrypt as administrator and choose System, then Encrypt System Partition/Drive.
- Choose Normal. Hidden, which creates a hidden operating system, is an advanced option discussed in the tutorial on this site.
- Choose whether to encrypt the Windows system partition only or the whole drive. Whole drive is more complete; system partition only is simpler on multi-partition disks.
- Choose Single-boot, or Multi-boot if other operating systems are installed.
- Select encryption options. AES and SHA-512 are the defaults and appropriate.
- Enter the passphrase twice. PIM is optional and, for system encryption, affects boot time noticeably.
- Move the mouse to gather randomness, then continue.
- VeraCrypt generates keys and asks you to create the rescue disk. It writes an image; for UEFI systems, extract the image to a FAT-formatted USB stick as instructed. VeraCrypt then verifies the rescue disk and will not proceed until it does.
- Choose a wipe mode. None is normal for a fresh drive; a wipe pass overwrites remnants of unencrypted data on a drive that has been in use, at the cost of time.
- Run the pretest. VeraCrypt installs the boot loader and restarts. At the password prompt, enter your passphrase. If Windows boots, the pretest passed and VeraCrypt continues.
- Click Encrypt. Encryption runs in the background over an hour or more depending on drive size, and you can keep using the PC, pause, or defer. Do not interrupt a shutdown mid-write; VeraCrypt handles pause and resume itself.
From then on, every boot shows the VeraCrypt password prompt before Windows.
The rescue disk
The rescue disk is the reason system encryption is safe to attempt. Booting from it lets you:
- Restore the VeraCrypt boot loader if it has been overwritten, for example by a Windows update or repair tool.
- Restore the original volume header if the one on disk is damaged.
- Permanently decrypt the system drive without Windows, using your passphrase, if Windows cannot start for any reason.
- Repair the operating system's own boot loader.
Keep the rescue USB stick somewhere safe. It cannot decrypt the drive without your passphrase, so it is not a security risk in itself, but it is the tool you will want in an emergency. Recreate it through System, Create Rescue Disk if you change your password, since the header it holds is tied to the key at creation time.
UEFI, Secure Boot and Windows updates
VeraCrypt supports UEFI boot on GPT disks, which is the configuration of essentially every Windows 11 PC. Secure Boot requires that boot loaders be signed with a certificate the firmware trusts; VeraCrypt provides a signed loader and documents the steps to keep Secure Boot enabled, or you may disable Secure Boot in firmware settings, which the VeraCrypt documentation describes as an accepted configuration. Major Windows feature updates have at times conflicted with the VeraCrypt boot loader; VeraCrypt's documentation and release notes address specific versions, and keeping VeraCrypt current before applying feature updates avoids most trouble. If Windows fails to start after an update, the rescue disk restores the loader.
VeraCrypt versus BitLocker on Windows 11
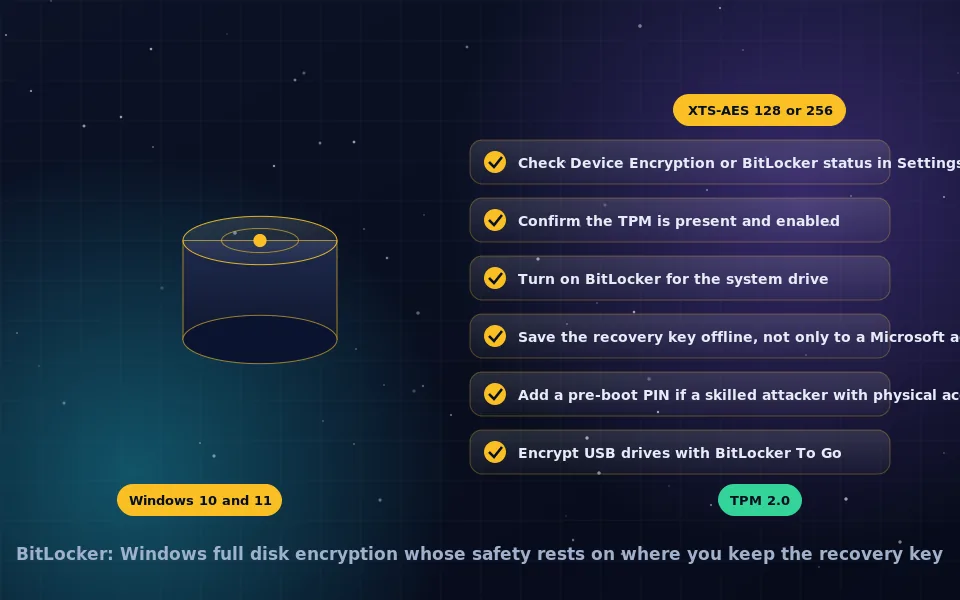
| Aspect | VeraCrypt | BitLocker |
|---|---|---|
| Availability | Free, any Windows edition | Pro and above; Device Encryption on Home |
| Source | Open, audited | Closed |
| Boot | Password every boot | Automatic with TPM; optional PIN |
| Key escrow | None; you alone | Optional to Microsoft account or AD |
| Hidden OS | Yes | No |
| Integration with updates | Occasional friction | Built in |
| Removable drives | Yes, cross-platform | BitLocker To Go, Windows only |
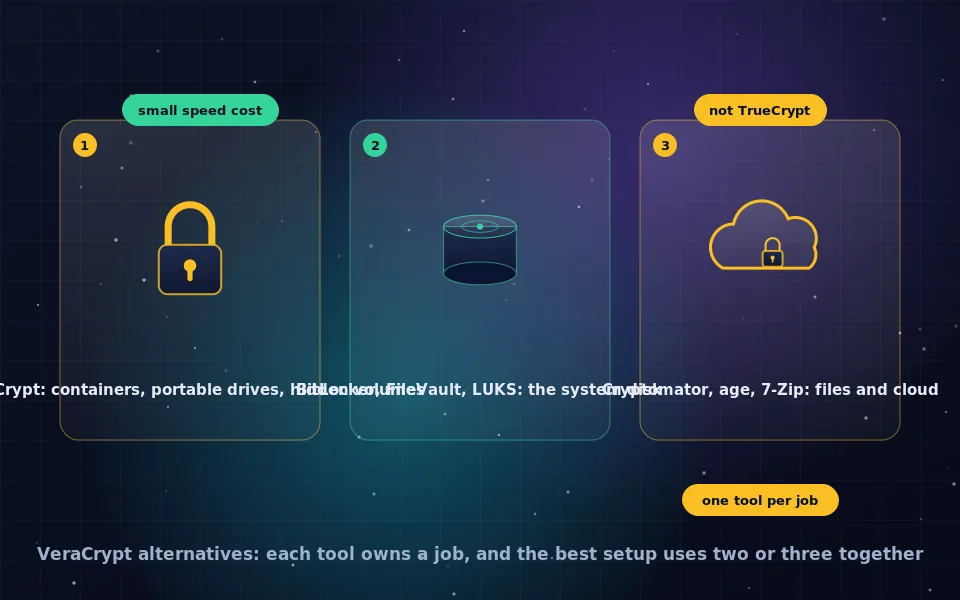
Choose VeraCrypt for vendor independence, open source, hidden operating systems, or Windows Home without Device Encryption. Choose BitLocker for the simplest experience with hardware-backed unlock. Both encrypt with AES-XTS and both protect data at rest as the full disk encryption guide on this site describes. Many people run BitLocker on the system drive and VeraCrypt containers inside it; the alternatives guide on this site compares them further.
A six-point Windows checklist
- Download from veracrypt.fr and verify the signature or hash.
- Install for your own PC; extract to a USB stick for a portable copy.
- Before system encryption: full backup, BitLocker off, rescue USB stick ready.
- Complete the pretest before encryption begins and keep the rescue disk safe.
- Update VeraCrypt before major Windows feature updates.
- Set auto-dismount and cache-wiping preferences, and lock the screen; encryption protects only a machine that is off or at the password prompt.
What the VeraCrypt project and Windows users report
The procedure here follows VeraCrypt's documentation and the experience of its user community.
VeraCrypt's documentation describes system encryption on UEFI and BIOS systems, the mandatory rescue disk creation and verification, the pretest, wipe modes, Secure Boot handling with a signed loader, and the portable mode's requirement of administrator rights.
The project's release notes document compatibility fixes for specific Windows versions and updates, and recommend keeping VeraCrypt current to avoid boot loader conflicts.
Users and security practitioners report that system encryption is reliable when the backup, rescue disk and pretest steps are followed, and identify skipped rescue disks and lost passphrases as the causes of nearly all unrecoverable situations.
Encrypt the system when independence matters
If BitLocker's convenience and Microsoft's role in it suit you, use it. If you want encryption whose code you can read and whose keys no one else ever holds, VeraCrypt system encryption on Windows 11 delivers it: verify the download, back up, make the rescue disk, pass the pretest, and let it encrypt. The tutorial and USB guides on this site cover the containers and drives you will want alongside.
Frequently asked questions
How do I install VeraCrypt on Windows 11?
Download the Windows installer from veracrypt.fr, verify its signature or hash, run it, and choose Install. Accept the defaults, which include the driver Windows needs to mount volumes. Restart if prompted. The alternative Extract option produces a portable copy that runs without installing but cannot encrypt the system drive.
Can VeraCrypt do full disk encryption on Windows?
Yes. VeraCrypt system encryption encrypts the Windows partition or the whole drive and installs a boot loader that asks for your password before Windows starts. It works on UEFI and legacy BIOS systems and does not use the TPM. It is the only VeraCrypt system encryption; macOS and Linux system drives use FileVault and LUKS.
What is the VeraCrypt rescue disk?
A bootable image, written to a USB stick, created during system encryption. It contains a copy of the boot loader and the original volume header, and can repair a damaged boot loader, restore the header, or permanently decrypt the drive if Windows will not start. VeraCrypt requires you to create and verify it before encrypting.
Should I use VeraCrypt or BitLocker on Windows 11?
BitLocker is built in, uses the TPM, is simpler and integrates with Windows updates. VeraCrypt is open source, audited, requires a password at every boot, supports hidden operating systems and is not tied to a Microsoft account. Choose VeraCrypt if you want vendor independence or hidden volumes; otherwise BitLocker is usually enough.
What is VeraCrypt Portable?
VeraCrypt run from an extracted folder without installation, typically on a USB stick. It can mount and create containers on any Windows machine where you have administrator rights, since loading its driver requires them. It cannot perform system encryption and leaves no installed software behind.
Last reviewed and updated on . Plain text version: /encryption/veracrypt-windows.txt.